Dirty air ducts are a common but often overlooked cause of poor indoor air quality and reduced HVAC efficiency. Over time, dust, allergens, and debris can build up inside ductwork and circulate throughout your home. This guide explains how to clean dirty air ducts at home using a safe and practical do-it-yourself approach. The steps focus on basic maintenance that homeowners can handle without specialized equipment. Read the detailed guide below to clean your air ducts correctly and avoid common DIY mistakes.
1. Tools and supplies for do-it-yourself air duct cleaning
Before starting, prepare the right tools and materials to ensure effective cleaning while avoiding damage to your HVAC system. The items below are commonly available, easy to use, and suitable for basic at-home duct maintenance.
Equipment and tools
- Screwdriver or cordless drill: Used to remove vent covers quickly and safely. A cordless drill can speed up the process, while a standard screwdriver offers better control in tight spaces.
- Vacuum cleaner with hose attachment: Removes loose dust and debris near the vent opening. Models with stronger suction perform better and reduce the need for repeated passes.
- Shop vac (optional): A high-powered vacuum designed for heavier debris. While not required, it is more effective than standard household vacuums when reaching slightly deeper into ducts.
- Stiff-bristle brush or duct cleaning brush: Used to scrub duct walls and loosen stuck-on dust. For metal ducts or delicate surfaces, a soft nylon brush helps prevent scratches.
- Extension pole: Allows brushes or vacuum attachments to reach farther inside the ductwork without forcing tools into tight bends.
- Flashlight: Essential for inspecting dark or narrow sections inside air ducts and checking how much buildup is present before and after cleaning.
Materials
- Microfiber cloths: Used to wipe accessible interior surfaces and clean vent covers after vacuuming. Microfiber traps fine dust more effectively than standard cloths.
- Dish soap: Mixed with warm water to wash vent covers and remove grease or residue before reinstalling.
- Replacement HVAC air filter: Installed after cleaning to prevent remaining dust from circulating back through the system once it is turned on.
Note: Do-it-yourself air duct cleaning is appropriate only for areas near vent openings that you can safely access. Deep duct sections, heavy buildup, or signs of mold require professional equipment and expertise.

2. How to clean dirty air ducts at home: 9 step-by-step instructions
Follow these steps carefully to clean your air ducts safely and effectively using a do-it-yourself approach. This process focuses on areas you can reach without professional equipment.
Step 1: Turn off the HVAC system
Before doing anything, switch off the HVAC system at the thermostat. For added safety, turn off the circuit breaker that powers the system. This stops airflow, prevents dust from being blown through the house, and protects you while working near moving parts.
Step 2: Remove vent covers
Use a screwdriver or cordless drill to remove vent covers from walls, floors, or ceilings. Place the screws somewhere safe. Wash the covers in warm water mixed with dish soap to remove dust and grease. Set them aside to dry completely.
Step 3: Cover other air vents
While cleaning one vent, cover the remaining vents with cloths or paper towels. This helps contain dust and prevents loosened debris from spreading to other rooms.
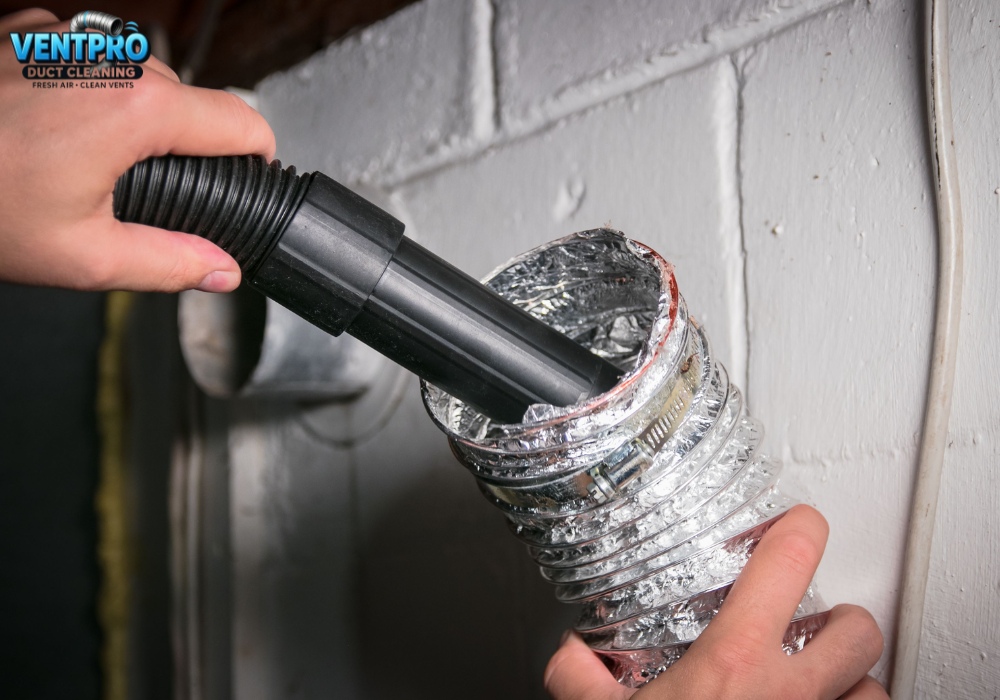
Step 4: Vacuum inside the ducts
Attach a hose to your vacuum or shop vac and insert it into the duct opening. Slowly vacuum as far as you can reach, focusing on corners and edges where dust tends to collect. Remove visible dust, hair, and loose debris.
Step 5: Scrub the duct walls
Use a stiff-bristle or duct cleaning brush to gently scrub the interior walls of the duct. This helps loosen dirt that is stuck to the surface. After scrubbing, vacuum again to remove the loosened debris.
Step 6: Wipe accessible areas
Lightly dampen a microfiber cloth and wipe the inside edges of the duct opening and the surrounding vent frame. Avoid pushing moisture deep into the ductwork. This step helps capture fine dust left behind after vacuuming.
Step 7: Reinstall vent covers
Once the vent covers are completely dry, reinstall them using the original screws. Make sure they are secured firmly but do not overtighten.
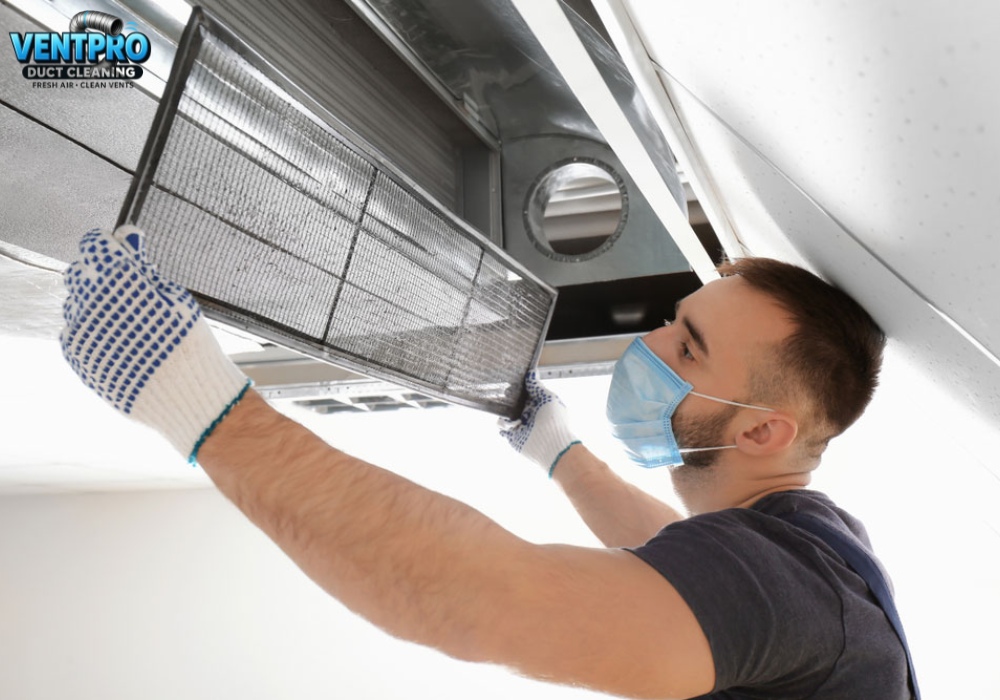
Step 8: Replace the HVAC air filter
Install a new HVAC air filter immediately after cleaning. This prevents any remaining dust from being pulled back into the system when it starts running again.
Step 9: Restart the system and inspect
Turn the circuit breaker and thermostat back on. Let the system run for a few minutes and check airflow at the vents. Pay attention to unusual noises or odors, which may indicate leftover debris or other issues.
Important note: This process explains how to clean dirty air ducts at a basic, surface-accessible level only. It does not replace full system duct cleaning, which requires professional tools to reach deep duct sections and remove heavy buildup or mold.
3. Tips to keep air ducts clean and safe for your health
Keeping your air ducts clean is not a one-time task. Regular habits and simple maintenance steps can significantly reduce dust buildup, improve airflow, and support healthier indoor air over time.
- Change HVAC air filters every 1 – 3 months: Air filters capture dust, pollen, and airborne particles before they enter the duct system. Replacing them regularly helps prevent buildup inside ducts and keeps airflow efficient.
- Vacuum vent covers regularly: Dust on vent covers can be pulled back into the system when air circulates. Regular vacuuming reduces the amount of debris entering the ductwork.
- Keep vents unobstructed: Furniture, rugs, or curtains blocking vents restrict airflow and cause dust to accumulate inside the ducts. Keeping vents clear allows air to move freely.
- Control indoor humidity: High humidity creates conditions that encourage mold and bacteria growth inside air ducts. Maintaining proper humidity levels helps protect indoor air quality.
- Schedule routine HVAC inspections: Regular inspections help identify early signs of dust buildup, airflow issues, or moisture problems before they turn into larger system concerns.
Consistent maintenance reduces the need for frequent deep cleaning and helps protect both your HVAC system and your indoor air quality.
4. When you should use professional air duct cleaning services
Do-it-yourself air duct cleaning is helpful for basic maintenance, but it has clear limitations. In certain situations, professional equipment and trained technicians are required to clean the system thoroughly and safely.
You should consider professional air duct cleaning if you notice any of the following:
- Mold inside air ducts: Visible mold or persistent musty odors often indicate moisture issues that DIY cleaning cannot address safely.
- Strong musty or burning odors: Ongoing odors coming from air vents may signal deep contamination, trapped debris, or internal airflow problems.
- Heavy dust buildup deep in the system: Thick layers of dust beyond the vent opening cannot be reached with household tools and require commercial-grade equipment.
- Worsening allergy symptoms: If allergy or respiratory symptoms become more severe indoors, contaminants hidden inside the ductwork may be circulating through your home.
- Ducts that have never been professionally cleaned: Older systems or homes without prior duct cleaning often contain years of accumulated dust and debris that DIY methods cannot remove effectively.
VentPro 512 provides professional air duct cleaning with commercial-grade equipment to remove hidden buildup, improve airflow, and support healthier indoor air quality.
5. Frequently asked questions about cleaning air ducts yourself (FAQs)
Question 1: How to clean air ducts with a wet rag?
Only use a slightly damp microfiber cloth near the vent opening and accessible edges. Avoid pushing moisture deep into the ductwork, as excess moisture can lead to mold growth.
Question 2: How to clean air vent covers in a house?
Remove the vent covers and wash them with warm water and dish soap. Rinse thoroughly and allow them to dry completely before reinstalling.
Question 3: How to clean vent covers without removing them?
Use a vacuum to remove surface dust, then wipe lightly with a damp cloth. This method only cleans visible areas and does not remove buildup inside the ducts.
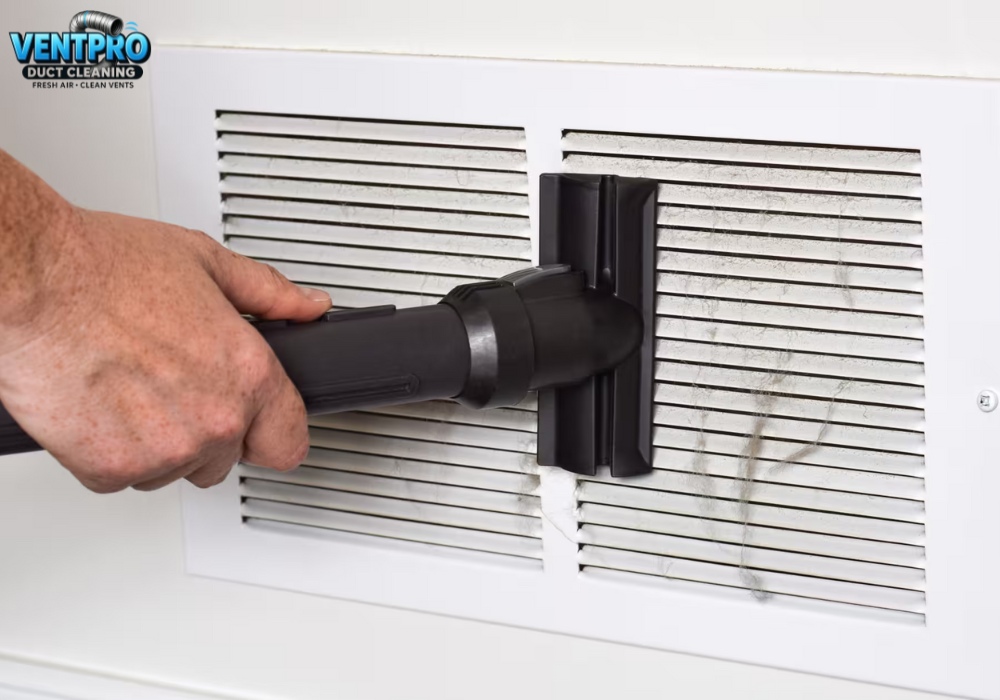
Question 4:How to clean air vents with a vacuum?
Attach a hose to your vacuum cleaner and gently vacuum inside the vent opening and along the edges where dust tends to collect.
Question 5: How to clean air conditioner vents in a window unit?
Turn off the unit and unplug it. Remove the front panel, vacuum visible dust, and clean or replace the filter according to the manufacturer’s instructions.
Question 6: How often should air vents be cleaned?
Vent covers should be cleaned every few months as part of regular home maintenance. Full air duct systems typically require professional cleaning every 3–5 years, depending on usage and indoor conditions.
Understanding how to clean dirty air ducts helps reduce dust, improve airflow, and support healthier indoor air. While do-it-yourself air duct cleaning is effective for basic maintenance, it cannot address deep buildup, mold, or long-term contamination. For those situations, professional air duct cleaning remains the safest and most effective solution.
|
VENTPRO 512 – FRESH AIR & CLEAN VENT Trusted Experts for Clean Air, Healthy Homes, and Reliable Service in Austin, TX
|