Most homeowners don’t want theory, they just want to know how to check air ducts themselves and whether something is wrong. The good news is that you can safely inspect many common air duct issues using simple tools and basic observation. This guide shows you exactly what you can check on your own, what signs actually matter, and what problems cannot be confirmed without professional equipment. The steps below are straightforward, practical, and designed to help you identify real duct issues without guesswork or fluff.
1. What You Need Before Checking Air Ducts (Quick Prep)
Before checking your air ducts, prepare a few basic items to safely identify visible issues without disturbing the system. This checklist supports a quick visual and airflow check only, helping you confirm whether further inspection is needed.
- Flashlight or headlamp to see inside vents and duct openings
- Screwdriver to remove vent covers carefully
- Tissue paper or incense to detect weak or uneven airflow
- Vacuum optional for surface dust near vent openings
- Dust mask recommended to avoid inhaling loose debris
2. Step-by-Step: How to Check Air Ducts Properly
This section focuses on the practical steps homeowners can take to check air ducts safely and effectively. The goal is not to diagnose every hidden issue, but to identify clear warning signs that indicate whether your duct system is working properly or needs further attention.
2.1. Step 1: Turn Off the HVAC System (Safety First)
Before removing vent covers or inspecting any part of the duct system, turn off the HVAC system at the electrical breaker, not just at the thermostat.
This step matters because the blower fan can still activate automatically even when the thermostat is off. Cutting power at the breaker prevents unexpected airflow, reduces dust disturbance, and protects you from moving components during inspection.
A common mistake homeowners make is relying only on the thermostat. Always confirm the system is completely powered down before moving forward.
2.2. Step 2: Check Airflow at Every Vent
Airflow tells you more about duct health than most homeowners realize. Once the system is running again, move from room to room and check how air is delivered.
Use your hand or a thin piece of tissue and compare airflow between vents. As you do this, look for the following:
- Weak airflow at multiple vents
- Uneven airflow between rooms
- One or more vents with little or no airflow
Each of these signs points to a different type of duct issue. Weak airflow often suggests dust buildup, partial blockages, or small leaks. Uneven airflow usually indicates an imbalanced duct system or leaks in certain branches. A vent with no airflow at all often means the duct is disconnected, severely blocked, or closed by a damper.
When airflow differences are obvious, the issue is almost never just a thermostat setting.
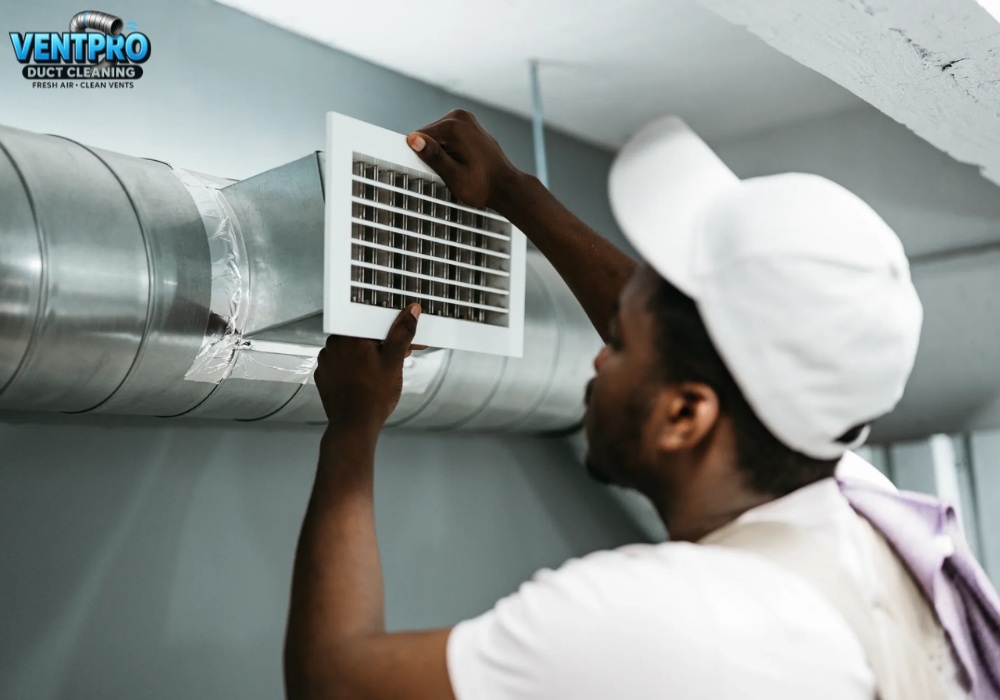
2.3. Step 3: Remove Vent Covers and Inspect Inside
If airflow feels inconsistent, the next step is to look just inside the duct system. Remove vent covers in problem areas and shine a flashlight into the opening.
Focus your inspection on three things:
- Thick dust buildup inside the duct
- Dark streaks or black marks around the vent edges
- Debris or insulation visible inside the duct
Dust alone usually points to dirty ducts or poor filtration. Dark streaks are a strong indicator of air leaks that are pulling dust from wall cavities or ceilings into the duct system. Debris or insulation inside the duct increases the risk of airflow restriction and long-term HVAC strain.
Clean vent covers can be misleading, so this step helps you see past surface-level appearance.
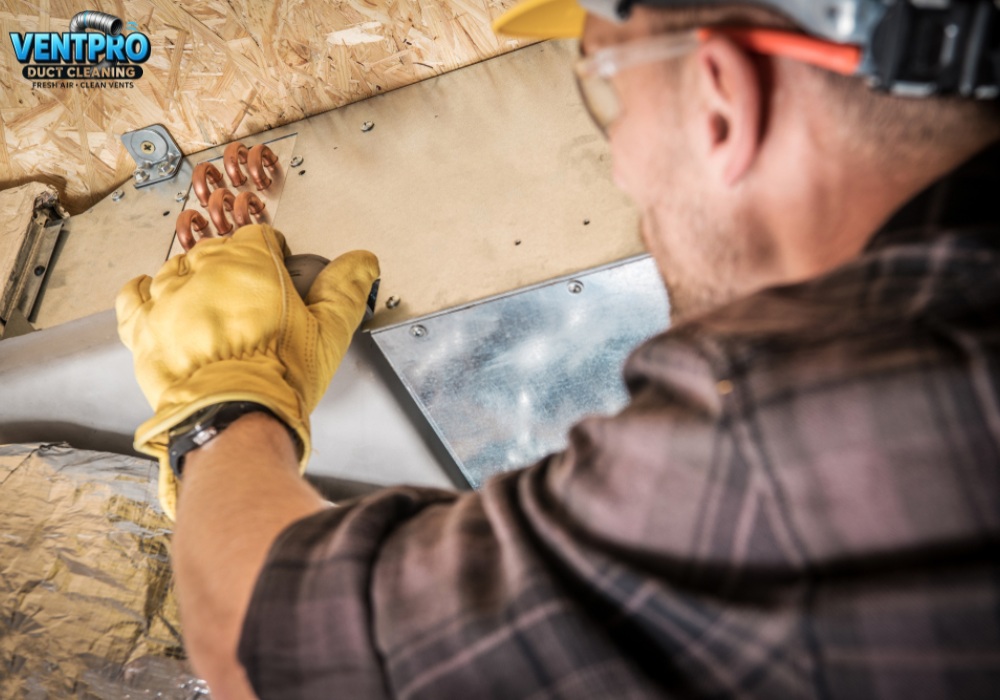
2.4. Step 4: Look for Visible Duct Damage or Leaks
If you can access ductwork in areas like the attic, basement, or crawlspace, take time to visually inspect exposed sections. Many serious duct problems are easy to spot once you know where to look.
Check for these common issues:
- Loose or disconnected joints
- Torn, crushed, or sagging duct sections
- Foil tape that is peeling or falling off
- Dried, cracked, or missing mastic sealant
These problem areas allow conditioned air to escape before it ever reaches your living space. Even small gaps at duct connections can lead to significant energy loss, longer system runtimes, and uneven room temperatures.
2.5. Step 5: Do a Simple Leak Test (Smoke or Paper Test)
After checking for visible damage, the next step is to confirm whether air is actually leaking from duct connections. This test is simple, safe, and surprisingly effective when done correctly.
First, make sure the HVAC system is running so the ductwork is pressurized. Hold an incense stick or a thin piece of tissue near duct seams, joints, and connections, especially in accessible areas like attics or basements.
Watch how the smoke or paper behaves. If the smoke shifts direction or the paper flutters, air is escaping and a leak is present. If there is no movement, the seal is likely intact. A very common mistake is performing this test while the HVAC system is turned off. Without airflow and pressure, leaks will not reveal themselves, and the test results will be unreliable.
2.6. Step 6: Check for Blockages Inside the Ducts
Airflow problems are not always caused by leaks. Internal blockages can restrict airflow just as effectively and are often overlooked. Use a flashlight to look inside duct openings and focus your inspection on areas where problems tend to develop:
- Bends and turns in the ductwork
- Transition points where duct size changes
- Sections closest to vents
As you inspect, watch for clear signs of blockage such as dust clumps, construction debris, or duct sections that appear collapsed or kinked. Even partial obstructions can reduce airflow and force the HVAC system to work harder than necessary. An additional clue is sound. Whistling or rattling noises when the system is running often indicate airflow restriction or loose material inside the duct.
2.7. Step 7: Check for Mold or Moisture (Critical Health Check)
Mold and moisture issues require careful handling. Homeowners can identify warning signs, but should not attempt to remove mold themselves.
What you can safely check includes:
- A persistent musty smell when airflow starts
- Visible discoloration near vents or inside accessible duct sections
- Damp or wet insulation around ductwork
What you should not do is just as important. Do not spray chemicals into the ducts and do not scrub areas where mold is suspected. Disturbing mold can spread spores throughout the home and make the problem worse. If moisture or mold is suspected, professional inspection is necessary to confirm the source and scope of the issue.
2.8. Step 8: Check the Air Filter and Blower Area
The condition of the air filter and blower area provides valuable context about overall duct health. A dirty or clogged air filter allows dust to circulate through the system more quickly, causing ducts to become contaminated faster. If filters load up with dust in a short time, it often points to underlying duct issues.
If accessible, look inside the blower compartment. Excessive dust buildup there is a strong indicator that contamination is present throughout the duct system, not just at the vents.
3. How to Know If Your DIY Check Is Enough
After completing your air duct checks, use the outcomes below to decide whether your inspection was sufficient.
Your DIY check is likely enough when:
- Airflow feels stronger after cleaning vents or replacing the air filter
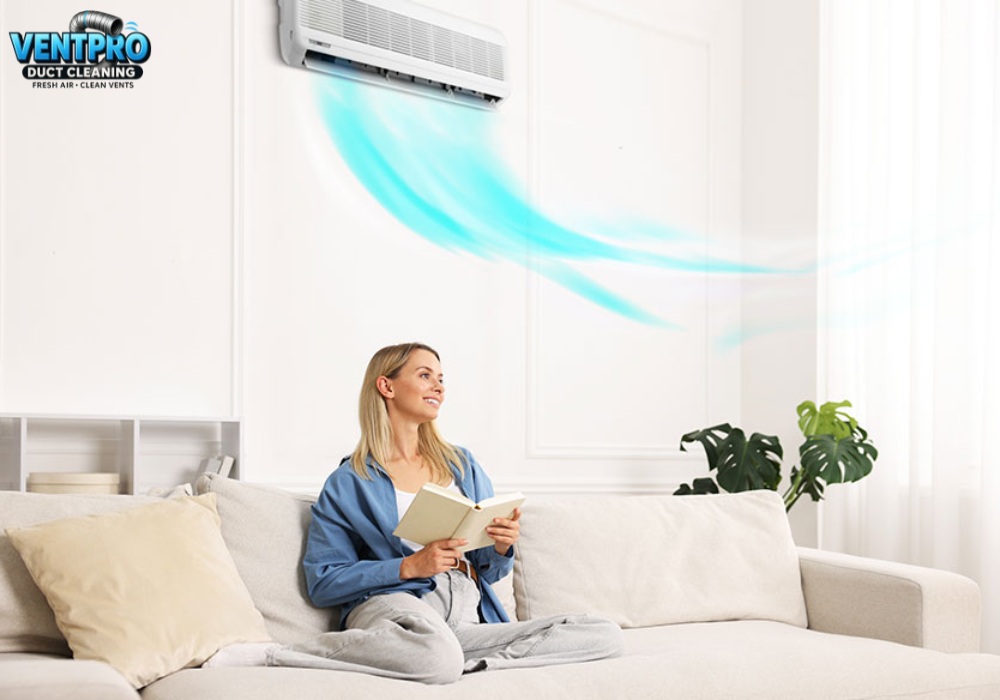
- Airflow is more even between rooms
- Indoor comfort improves noticeably
- No musty odors or moisture are present
In these cases, the issue was likely minor and limited to surface-level dust or small obstructions.
Your DIY check is not enough when:
- Airflow remains weak or uneven
- Some vents still have little or no airflow
- The same issues return shortly after inspection
These signs usually indicate problems deeper inside the duct system that cannot be confirmed visually.
4. When You Should Call a Professional
Some duct problems cannot be identified or confirmed without specialized tools. Professional inspection is recommended in the following situations.
Call a professional if you notice:
- Persistent weak airflow even after basic checks
- Higher energy bills without changes in usage
- Musty smells or signs that suggest mold or moisture
- Ductwork hidden behind walls, ceilings, or floors
What professionals can do that DIY cannot:
- Perform pressure testing to locate hidden air leaks
- Use internal duct cameras to inspect deep sections of ductwork that are not accessible from vents
These tools allow problems to be diagnosed accurately, reducing the risk of unnecessary repairs or missed issues. If your inspection points to deeper duct problems, VentPro 512 provides professional air duct inspections designed to identify leaks, blockages, and airflow issues at the source. Our technicians use proper testing methods and visual confirmation to ensure repairs are based on real findings, not assumptions, helping homeowners protect comfort, indoor air quality, and long-term HVAC performance.

5. FAQs about How to Check Air Ducts
Q1: Can I check air ducts myself?
Yes. Homeowners can safely check airflow, visible dust, obvious leaks, and basic blockages using simple tools and visual inspection. These checks are useful for identifying surface-level issues.
Q2: How long does a duct inspection take?
A basic DIY inspection usually takes about 20 to 30 minutes. A professional inspection typically takes 60 to 90 minutes, depending on the size of the home and how accessible the ductwork is.
Q3: Do dirty ducts really affect air quality?
Yes. Dirty air ducts can circulate dust, allergens, and other contaminants throughout the home, which may reduce indoor air quality and contribute to respiratory irritation or allergy symptoms.
Knowing how to check air ducts helps homeowners catch problems early and avoid unnecessary HVAC strain. By checking airflow, inspecting vents, looking for visible leaks, and watching for signs of blockages or moisture, you can identify most surface-level duct issues without special tools. When these checks lead to clear improvement, routine maintenance is usually enough. When problems persist, a professional inspection is the safest way to confirm hidden issues before they affect energy efficiency, system lifespan, or indoor air quality.
|
VENTPRO 512 – FRESH AIR & CLEAN VENT Trusted Experts for Clean Air, Healthy Homes, and Reliable Service in Austin, TX
|